4.4. Enrolling Students and Creating Groups
To enrol students and create groups, follow the steps below:
1. Access the Participation and Groups sections of your course.
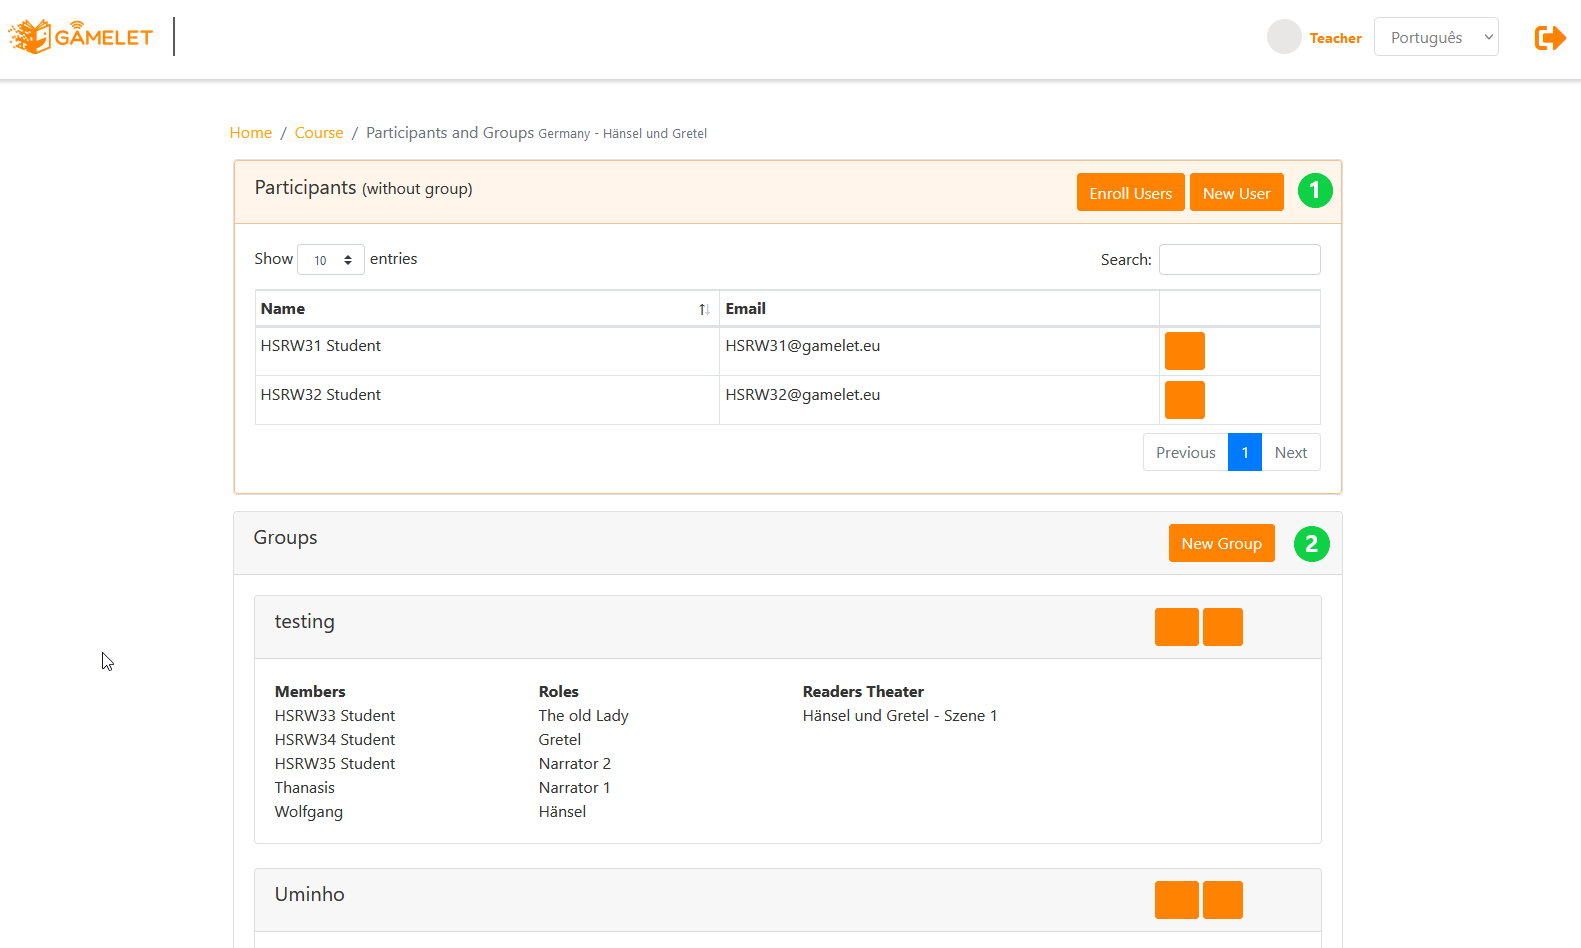
- Participants Card: Here you can see all of the participants enrolled in the course who are not yet part of a group. In this list, you have the possibility to unsubscribe a student by clicking on the trash symbol in front of their name. To enrol students for the course, click on Enrol Users. To create a new student user, click on New User.
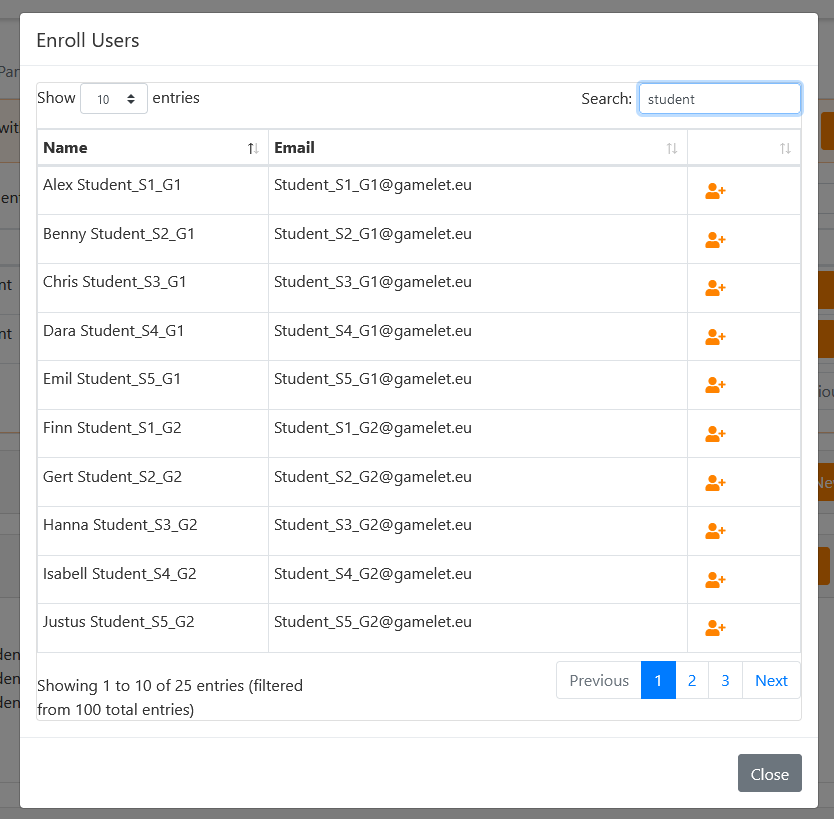
- Enroll users: If the user is already in the system, you can search for the name in this list and add them by clicking on the icon in front of his/her name.
- New user: To create a new user, fill in the form with their data. You can immediately enroll the student in the selected course by using the option Enroll in the current course. To finish, click on Create User.

- Groups Card - All groups created in this course are listed here. To create a new group, click on the button New Group. In this list, you can see the members of the group and the role assigned to them. You can edit a group by clicking on the edit icon, or delete it by clicking the trash icon.
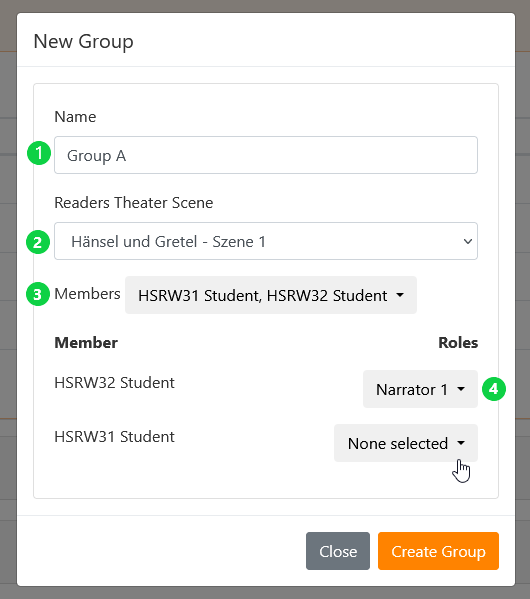
- New Group: Insert the group information on the form, by filing in the fields below:
- Name: Assign a name to the group
- Readers Theater Scene: Select one of the reading theater scenes for the group to work on.
- Members: The selector shows all registered users who are not yet part of a group. Select users for the group. You can add as many users as there are roles in the selected theater scene.
- Roles: Select for each member of the group the role he will play in the reading theater.